
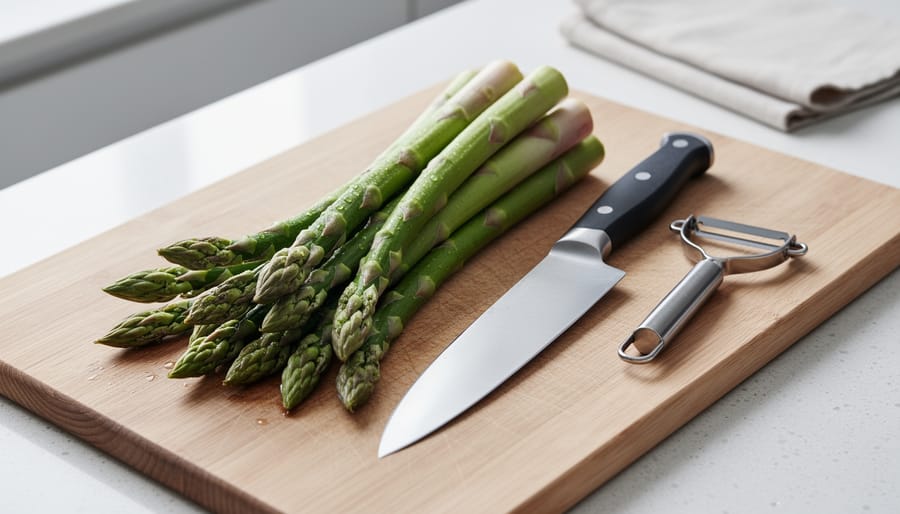
Preparing asparagus for cooking takes just four straightforward steps and about five minutes of your time: wash the spears thoroughly, trim the woody ends, peel thick stems if needed, and pat everything dry before cooking. These simple techniques ensure your spring vegetables taste tender and delicious, whether you’re roasting them at 450°F for 8 to 10 minutes or blanching them for a quick 1 to 2 minutes.
The beauty of asparagus lies in its versatility. Once you’ve prepped your spears correctly, you can grill them for charred flavor, steam them for a light side dish, or toss them with olive oil for crispy roasted perfection. But it all starts with proper preparation, which makes the difference between tender, flavorful asparagus and tough, stringy disappointment.
You don’t need fancy equipment or culinary school training to prep asparagus like a pro. A sharp knife, a cutting board, and maybe a vegetable peeler are all the tools required. The process is forgiving enough for weeknight dinners yet refined enough for special occasions when you want to impress guests with a beautifully presented vegetable side. Let’s walk through each preparation step so you can feel confident handling these elegant green spears every time.
What You’ll Need to Prep Asparagus
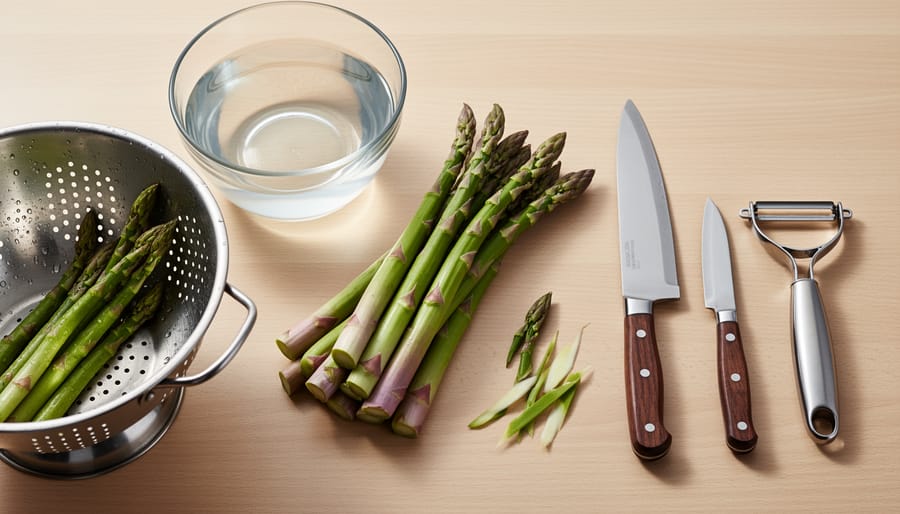
Getting your asparagus ready for cooking doesn’t require a specialty kitchen or fancy gadgets. You probably have everything you need already sitting in your kitchen drawers and cabinets.
Here’s what you’ll want to gather before you start:
- Cutting board, provides a stable surface for trimming and keeps your counters clean
- Sharp knife, makes clean cuts through fibrous stems without crushing them
- Colander or large bowl, perfect for washing multiple spears at once under running water
- Clean kitchen towel or paper towels, essential for patting asparagus dry, especially if you’re planning to roast or grill
- Vegetable peeler (optional), handy if you’re working with thicker spears that might benefit from peeling
That’s genuinely it. No special asparagus tools, no complicated equipment. The cutting board gives you a safe workspace, while a sharp knife ensures you get clean trims rather than ragged ends that can affect texture. Your colander makes rinsing easy and efficient, letting water flow through while you gently rotate the spears.
The kitchen towel matters more than you might think. Dry asparagus roasts beautifully with crispy edges, while wet spears tend to steam in the oven. If you’re blanching or steaming instead, moisture isn’t a concern, but you’ll still want that towel nearby for handling hot vegetables afterward.
Before You Begin: Selecting and Storing Asparagus
Fresh asparagus makes all the difference in both flavor and texture, so it’s worth taking a moment to choose the best spears at the market. Look for firm, straight stalks with tightly closed tips that stand upright rather than droop. The color should be vibrant, whether you’re selecting green, purple, or white varieties, and the cut ends should look moist, not dried out or shriveled.
If you grow your own harvest in the morning when stalks are crisp and cook within a day or two for peak flavor. Before you start prepping, give your asparagus a quick check. Discard any spears with mushy spots, a slimy texture, or an off smell, these are signs the vegetable has passed its prime. A bit of surface moisture is normal, but true sliminess means it’s time to compost rather than cook.
The good news is that fresh asparagus keeps well when stored properly, giving you flexibility to prep and cook when it fits your schedule. You’ll know you’ve got quality spears when they feel crisp and snap cleanly rather than bend.
Step-by-Step: Preparing Your Asparagus
Step 1: Rinse Thoroughly
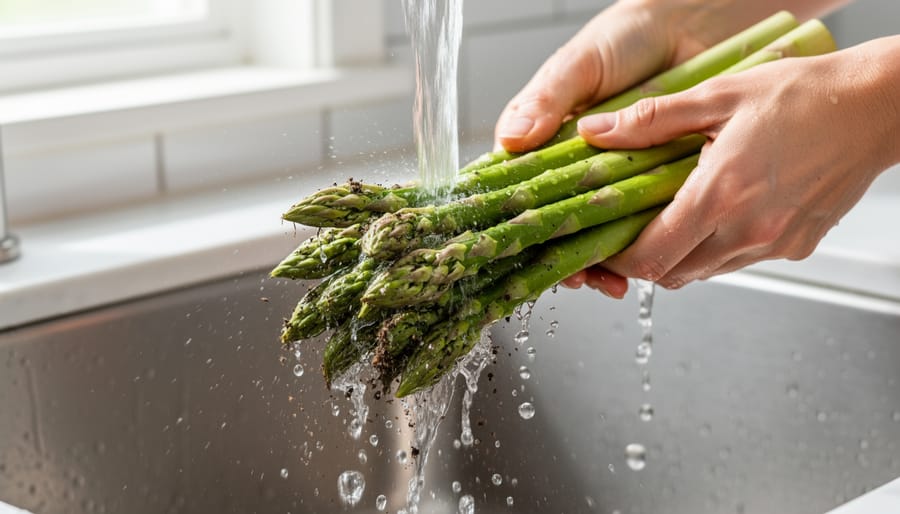
Hold the bunch of asparagus under cool running water, turning it gently so every spear gets a thorough rinse. Pay special attention to the tightly clustered tips, where sandy grit loves to settle between the delicate scales. Run your thumb lightly over the tips as the water flows, you’ll feel when the tiny particles wash away and the surface becomes smooth. Fresh asparagus should feel firm and crisp under the water stream, with a clean, slightly grassy scent. The spears will look brighter and more vibrant once the dust and field residue rinse off. If you notice stubborn dirt clinging to the tips, use your fingers to gently separate the scales while holding them under the water. Once the water runs clear and the asparagus feels clean to the touch, you’re ready for the next step.
Step 2: Trim the Woody Ends
The woody bottom portion of asparagus is tough and fibrous, so removing it ensures every bite is tender. You’ll typically trim 1 to 2 inches from the base, though the exact amount depends on freshness and thickness.
The bend-and-snap method is the easiest approach: hold one spear near each end and gently bend until it breaks naturally. The stalk will snap precisely where the tender part begins. This works beautifully, though it can waste slightly more asparagus than necessary if the spears are very fresh.
For more control, use a knife instead. Line up your asparagus bundle on a cutting board and slice straight across about 1 to 2 inches from the bottom. You can use the first snapped spear as a guide for where to cut the rest of the bunch, ensuring uniform lengths that cook evenly.
Whichever method you choose, save those woody ends for vegetable stock rather than tossing them. The trimming step takes just a minute or two but makes the difference between stringy, unpleasant asparagus and spears that are enjoyable from tip to stem.
Step 3: Peel Thick Stems (Optional)
If you’re working with asparagus spears thicker than a pencil, peeling the lower portion of each stalk helps ensure tender, evenly cooked results. Thick asparagus can have fibrous outer skin near the base that stays tough even after cooking, while the tender interior cooks perfectly. Peeling removes this layer so every bite has the same pleasant texture.
To peel, hold a spear firmly near the tip and use a vegetable peeler to shave off thin strips from the lower third of the stalk, starting about an inch below the tip and working toward the cut end. Rotate the spear as you go to peel all sides evenly. The outer skin should come off easily in pale green ribbons.
This step is completely optional for thinner asparagus, those slender spears are tender all the way through and don’t need peeling. If your bunch has a mix of thick and thin stalks, you can peel just the thickest ones and leave the rest as-is. Your asparagus will still taste wonderful either way.
Step 4: Pat Dry
Once your asparagus is clean and trimmed, take a moment to pat the spears dry with a clean kitchen towel or a few paper towels. This might seem like a minor detail, but it makes a real difference in how your asparagus cooks. Excess water clinging to the spears creates steam, which can prevent proper browning and caramelization, especially important if you’re roasting at 450°F or grilling. For those methods, you want each spear completely dry so it develops those delicious crispy edges rather than steaming in its own moisture. If you’re planning to blanch or steam your asparagus, drying is less critical since you’re adding it to water anyway, but it still helps with even cooking and prevents diluting salted boiling water. Just gently roll each spear between the towel, paying attention to the leafy tips where water droplets like to hide.
Matching Prep to Your Cooking Method
Roasting at High Heat
Roasting brings out asparagus’s natural sweetness and creates beautifully caramelized edges. For best results, make sure your prepped spears are completely dry, any moisture will cause steaming instead of roasting. Heat your oven to 450°F before the asparagus goes in. You can leave spears whole or cut them into uniform pieces, whatever suits your preference. Both thin and thick aspears roast beautifully at this temperature; just watch the clock. Expect about 8 to 10 minutes total, though thick spears might need a minute or two longer. The asparagus is done when the tips turn golden and the stems are tender but still have a slight bite.
Blanching or Boiling
For blanching, your asparagus should be completely clean and trimmed, but you’ll actually want to leave them whole rather than cutting them into pieces, this preserves their shape and texture beautifully. Bring a large pot of salted water to a rolling boil (the salt enhances flavor and helps maintain that vibrant green color), then gently add your spears. Pay attention to thickness here: thin asparagus needs just 30 seconds to 1 minute in the water, while thicker spears require 1 to 2 minutes to reach that perfect crisp-tender texture. You’ll know they’re done when a fork pierces the stem easily but the spear still has a slight snap to it. The blanching times for asparagus are short, so keep a close eye and test a spear after the minimum time, overcooked asparagus turns mushy quickly, and you want to catch that sweet spot where it’s tender but still holds its shape.
Grilling
Grilling works beautifully for asparagus that’s been dried thoroughly, any lingering moisture creates steam instead of those appealing char marks. Leave spears whole rather than cutting them; full-length asparagus is easier to turn on the grates and less likely to slip through. A light coating of oil helps, but that dry surface from your prep makes all the difference. This method is one of four popular ways to cook asparagus, each highlighting the vegetable’s natural sweetness in its own way. Just make sure your prep left the stems uniform in thickness so everything cooks at the same rate.
Air Fryer and Steaming
Both air fryer cooking and steaming reward thorough drying and even sizing. For the air fryer, pat those spears completely dry so they crisp rather than steam, and consider snapping thicker stalks into shorter lengths for uniform browning. With steaming, you’ll cook for 1 to 4 minutes depending on thickness, thinner spears near the 1-minute mark, thicker ones closer to 4. Either way, trimming the woody ends and ensuring similar-sized pieces means everything finishes at the same moment, giving you tender stems and tight, flavorful tips every time.
How to Know Your Asparagus Is Ready to Cook
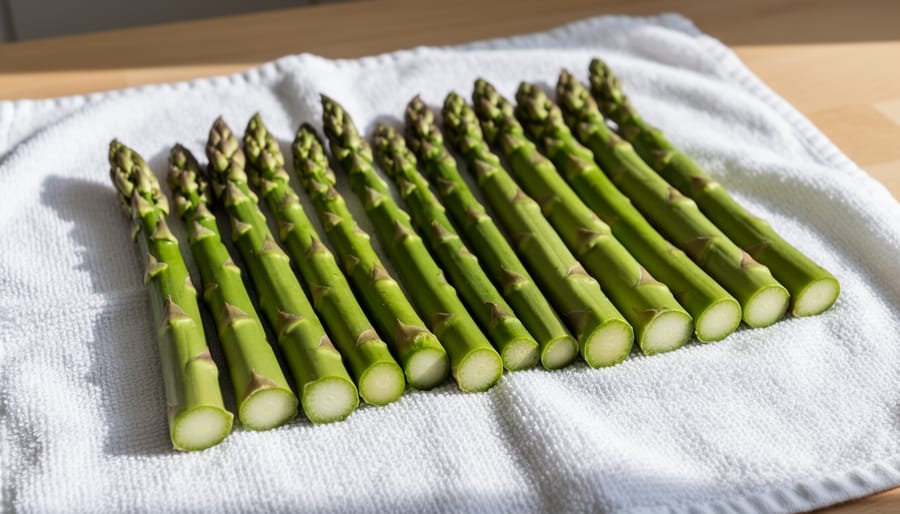
You’ve done the work, now take a quick moment to verify your asparagus is truly ready for the pan, oven, or grill. Your prepped spears should have clean, trimmed ends with no woody bits remaining. Run your fingers along a stalk; it should feel smooth and free of grit, especially near the tips where dirt likes to hide. If you’ve cut the asparagus into pieces, check that they’re roughly uniform in size so everything cooks evenly.
The spears should be dry to the touch if you’re roasting at 450°F or grilling, any lingering moisture will steam rather than caramelize. For blanching or steaming methods, a bit of dampness won’t matter. If you’ve peeled thicker stalks, the lower portions should look pale and feel tender when you press gently.
Not cooking right away? Store your prepped asparagus in a damp paper towel inside a plastic bag in the fridge for up to a day. You’re all set now. Whether you’re roasting for 8 to 10 minutes or blanching thin spears for just 30 seconds, your asparagus is ready to become a delicious part of tonight’s meal.
Common Questions About Preparing Asparagus
Do I have to peel asparagus?
No, peeling is optional and depends on the thickness of your spears. Thin asparagus rarely needs peeling, while thicker stalks can benefit from peeling the lower third to ensure even tenderness throughout.
Can I prepare asparagus ahead of time?
Yes, you can wash and trim asparagus up to a day ahead. Store the prepped spears in a damp kitchen towel inside a sealed container in the refrigerator, and pat them dry just before cooking.
How do I know where to trim the ends?
Hold a spear near the middle and bottom, then gently bend until it snaps naturally at the point where the tender part meets the woody end. This usually happens about 1 to 2 inches from the bottom.
What’s the difference between thick and thin asparagus for prep?
Thin asparagus cooks quickly and rarely needs peeling, while thick spears benefit from peeling the lower third and require slightly longer cooking times. For blanching, thin spears need only 30 seconds to 1 minute, while thicker ones need 1 to 2 minutes.
Should I wash organic asparagus?
Absolutely. Even organic asparagus grows in soil and can harbor dirt in the tips and along the stalks. A thorough rinse under cool running water removes any debris regardless of how the asparagus was grown.
Does the cooking method affect how I prep the asparagus?
Somewhat. If you’re roasting or grilling, make sure the spears are completely dry so they caramelize instead of steam. For boiling or steaming, a quick pat-dry is sufficient since moisture won’t interfere with those cooking methods.
These questions reflect what most home cooks wonder when they’re standing at the counter with a bunch of fresh asparagus. The good news is that asparagus prep is forgiving. If you miss a bit of dirt or leave the ends slightly longer than ideal, your dish will still turn out delicious. The four simple steps, washing, trimming, optional peeling, and drying, give you everything you need for asparagus that cooks evenly and tastes wonderful, no matter which of the four popular cooking methods you choose.
With just four straightforward steps, washing, trimming, optional peeling, and drying, you’ve got everything you need to prep asparagus like a pro. There’s nothing complicated about it, and once you’ve done it a few times, the whole process becomes second nature. Now you’re ready to roast, blanch, grill, or steam your spears to crisp-tender perfection, knowing they’ll taste their absolute best.
This kind of simple, seasonal cooking is what makes home meals feel special without the stress. Fresh asparagus doesn’t need fancy techniques or elaborate preparation, just a few minutes of care and you’re ready to enjoy one of spring’s most celebrated vegetables. Whether you’re planning a family dinner or creating beautiful vegetable centerpieces for your table, properly prepped asparagus brings that bright, fresh flavor that makes seasonal living so rewarding. Go ahead and choose your favorite cooking method, you’ve got this.