Roasting the perfect chicken starts with a simple weight-based calculation: a 1.5 kg unstuffed bird needs 1 hour and 40 minutes at 325°F, while the same chicken requires 2 hours and 10 minutes when stuffed. That baseline translates to roughly 67 minutes per kilogram for unstuffed chickens and 87 minutes per kilogram when stuffed, giving you a reliable starting point whether you’re cooking for two or hosting Sunday dinner for eight.
But here’s the thing: timers can guide you, yet they shouldn’t be your only safety net. Oven temperatures vary, chicken shapes differ, and a 2 kg bird from the back of your fridge cooks differently than one brought to room temperature. That’s why the real secret lies in pairing your per-kilogram estimate with a good instant-read thermometer and understanding what’s happening inside your oven.
Getting this right means juicy breast meat and fully cooked thighs without the guesswork. You’ll skip the anxiety of slicing into pink meat at the table or serving dried-out chicken because you played it too safe. Whether you’re meal prepping for the week ahead or creating a centerpiece roast that fills your kitchen with that irresistible golden-skin aroma, mastering the math behind roasting times gives you confidence every time you preheat the oven.
This guide walks you through the verified calculation method, the tools that make timing foolproof, and the step-by-step process that turns a raw bird into a perfectly bronzed dinner. You’ll learn when to adjust for stuffing, how to account for different oven types, and why internal temperature trumps any kitchen timer.
What You’ll Need to Roast Chicken Safely
Getting the right gear ready makes all the difference between guesswork and golden, juicy chicken. You don’t need a kitchen full of fancy equipment, but a few essentials will help you nail the timing and keep everyone safe at the dinner table.
- Oven-safe roasting pan: Holds the bird securely and catches drippings for easy cleanup and gravy-making.
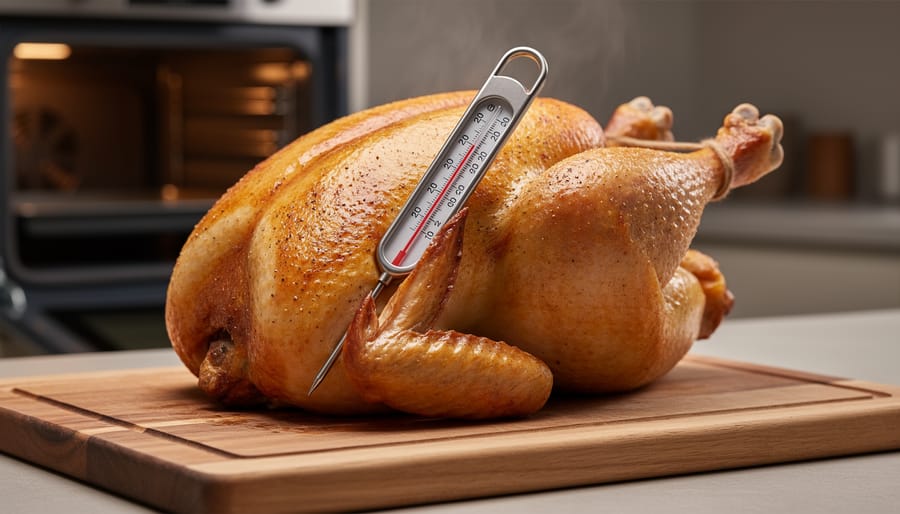
- Instant-read meat thermometer: Your safety checkpoint, verifies the internal temperature hit 180°F (82°C) or 85°C, so you’re never guessing whether it’s done.
- Kitchen twine: Keeps legs and wings tucked close if you’re stuffing, ensuring even cooking throughout.
- Aluminum foil: Tents the bird during resting so heat redistributes without the skin going soggy.
- Oven mitts: Protects your hands when moving a hot, heavy pan in and out of the oven.
- Basic seasonings: Salt, pepper, herbs, butter, or oil to build flavor on the skin and inside the cavity.
The thermometer is non-negotiable. Time-per-kg gives you a helpful ballpark, but only a thermometer confirms the chicken reached a safe temperature in the thickest part of the thigh. If you’re curious about other smart kitchen gadgets that take the stress out of meal prep, or kitchen timing tools to keep everything running smoothly, those resources can help you build a setup that feels effortless. With these basics on hand, you’re ready to roast with confidence.
Understanding Cooking Time Per Kilogram
Unstuffed Chicken Timing
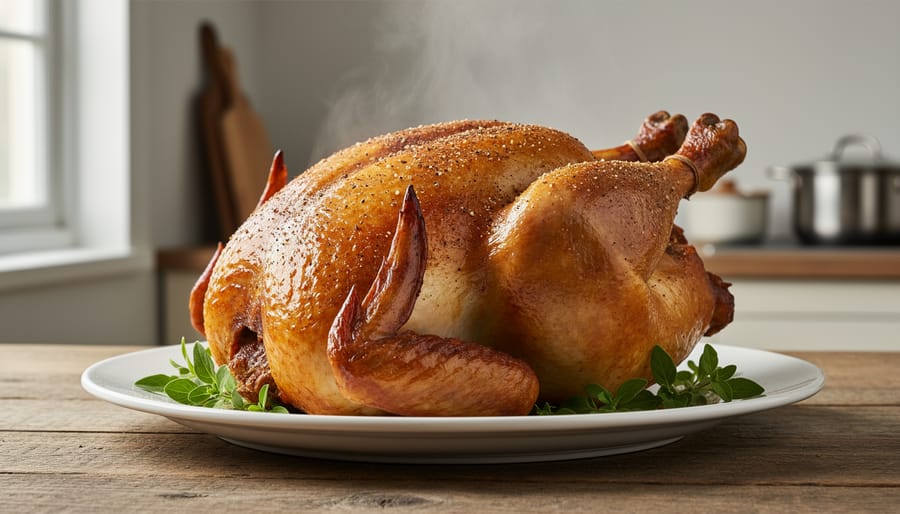
A 1.5kg unstuffed chicken takes 1 hour and 40 minutes at 325°F or higher. That works out to roughly 67 minutes per kilogram, but this ratio is a reference point, not a rigid rule you can simply multiply for every bird.
For smaller chickens around 1kg, expect closer to 70-75 minutes total. Larger birds, say 2kg or 2.5kg, may need 2 to 2.5 hours, though the per-kg rate often drops slightly as size increases because heat penetrates more slowly through thicker mass. Your oven’s calibration, the bird’s starting temperature, and even how it sits in the pan all shift the timeline.
Treat the 1.5kg benchmark as your anchor and adjust upward or downward, but always verify doneness with a thermometer in the thickest part of the thigh. Time gets you close; temperature tells you it’s safe.
Stuffed Chicken Timing
A stuffed 1.5kg chicken needs 2 hours and 10 minutes in the oven, which is 30 minutes longer than an unstuffed bird of the same weight. That extra half-hour matters because stuffing acts as insulation, slowing the flow of heat into the center of the cavity and the surrounding meat. The dense filling means the thickest part of the thigh takes longer to reach a safe temperature.
This timing difference isn’t a simple formula you can apply to every size bird with precision. Instead, treat the 1.5kg benchmark as your reference point: if you’re roasting a larger stuffed chicken, expect proportionally more time, and start checking the internal temperature earlier than you think you need to. Always use your instant-read thermometer to confirm both the thigh and the center of the stuffing reach at least 180°F (82°C) before you pull the bird from the oven. Guessing by time alone when stuffing is involved is a recipe for undercooked poultry, so trust your thermometer over the clock.
Critical Safety Warnings Before You Start
Before you roast your chicken, understand the food safety stakes. Undercooked poultry carries the risk of salmonella and campylobacter, two bacteria that cause serious foodborne illness. Time alone cannot guarantee safety because every oven heats differently, and factors like starting temperature and bird shape affect how quickly the center cooks.
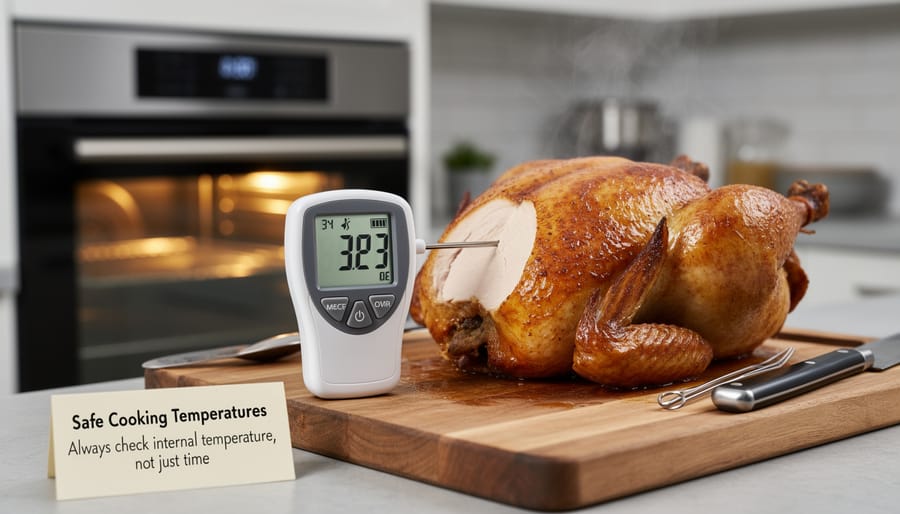
The verified safe minimum internal temperature for whole chicken is 180°F (82°C) in the United States, while Canada recommends 85°C as the target. You must check the thickest part of the thigh without letting the thermometer touch bone, which conducts heat and gives a falsely high reading. Insert it deep into the meat, angling toward the center of the bird.
Cross-contamination is another hazard. Wash your hands, cutting boards, and any utensils that touch raw chicken with hot, soapy water before they contact other foods. Never place cooked chicken on the same plate that held the raw bird unless you’ve washed it thoroughly.
If your chicken is frozen, thaw it completely in the refrigerator before roasting. A frozen or partially frozen bird will cook unevenly, leaving cold spots that harbor bacteria even when the outside appears done. Plan ahead: a 1.5kg chicken needs about 24 hours to thaw safely in the fridge.
Step-by-Step: Roasting Your Chicken to Perfection
Preparing the Bird
Remove the chicken from the refrigerator about 30 minutes before roasting. A bird at room temperature cooks more evenly because the outer muscles won’t overcook while the interior catches up. While it sits, pat the entire surface completely dry with paper towels, inside the cavity and out. Moisture is the enemy of crispy skin; every drop of water left behind creates steam that prevents browning and leaves you with pale, rubbery skin instead of the golden, crackling finish you want.
Season generously with salt and pepper, rubbing it into every crevice. The salt draws out surface moisture (which then evaporates in the oven, crisping the skin) and penetrates the meat for deeper flavor. Don’t be shy, a whole chicken needs more seasoning than you think. You can add herbs, garlic, or lemon inside the cavity for aromatic flavor, but the real work happens on the skin. Some cooks brush the bird with melted butter or olive oil before seasoning, which helps spices stick and promotes even browning, though properly dried skin will crisp beautifully on its own.
Roasting and Monitoring
Place your prepared chicken breast-up on a rack in the roasting pan, then slide it into the center of your preheated 325°F (163°C) oven. This position allows heat to circulate evenly around the bird, promoting consistent cooking and crispy skin. If you’re roasting at a higher temperature, say, 375°F or 400°F, you’ll achieve faster browning, but the per-kilogram timing will compress slightly, so vigilant monitoring becomes even more important.
Basting is optional but can enhance flavor and browning. If you choose to baste, do so every 30 minutes with pan drippings or melted butter, working quickly to minimize heat loss. Just know that frequent door-opening extends total cooking time, so weigh the trade-off.
Timing your temperature check correctly saves stress and prevents overcooking. Based on the 1.5kg benchmark (1 hour 40 minutes unstuffed, 2 hours 10 minutes stuffed), start testing about 20 minutes before the expected finish. For a 2kg unstuffed bird, that means checking around the 1 hour 45 minute mark; for a 1kg chicken, begin at roughly 50 minutes. Insert your instant-read thermometer into the thickest part of the thigh without touching bone. This approach catches doneness early, letting you pull the bird at exactly 180°F (82°C) rather than guessing and risking dryness or undercooking.
Resting the Chicken
Once your chicken reaches the safe internal temperature, transfer it to a cutting board and let it rest at least 3 minutes before carving. This minimum allows carryover cooking to finish while the surface cools enough to handle safely. For noticeably juicier meat, aim for 10 to 15 minutes instead. During this time, the muscle fibers relax and reabsorb moisture that would otherwise run onto the board the moment you slice.
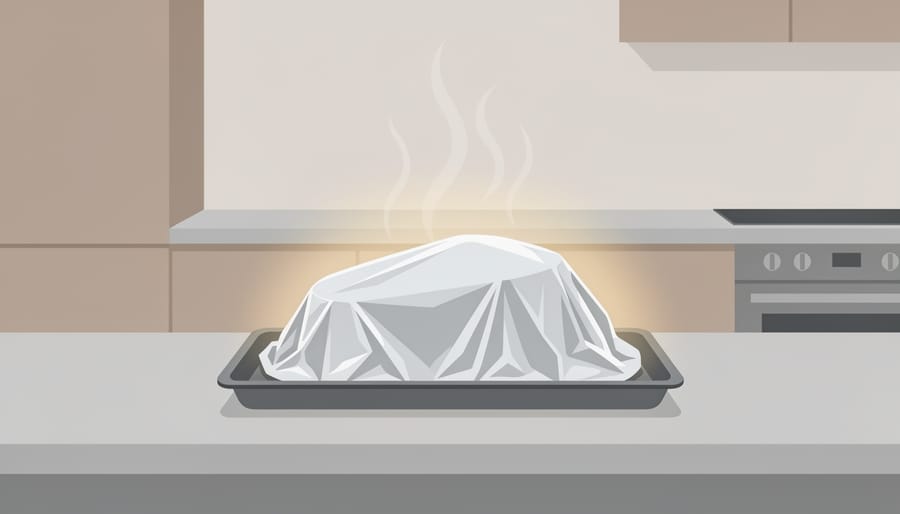
Tent the bird loosely with aluminum foil to keep it warm without trapping steam, which can soften the crispy skin you worked to achieve. Simply drape the foil over the top, leaving gaps at the sides so air circulates. If you skip resting altogether, you’ll lose a surprising amount of flavorful juice. A quarter-hour of patience makes the difference between a dry breast and tender, succulent slices that hold their moisture all the way to the plate.
How to Verify Your Chicken Is Safely Cooked
No timer or weight formula can replace the certainty of a properly placed thermometer. Push the probe into the thickest part of the thigh, angling toward the body cavity but stopping before you touch bone, bone conducts heat differently and will give you a false reading. You’re looking for at least 180°F (82°C) if you’re following U.S. guidelines, or 85°C if you’re cooking in Canada.
Once the thermometer confirms your target temperature, pull a leg gently away from the body and check that the juices run clear, not pink or cloudy. Keep in mind that carryover cooking will nudge the internal temperature up by a few degrees as the chicken rests, but you should always hit your minimum before removing it from the oven. If you discover the bird is undercooked after you’ve started carving, don’t panic: place the pieces back in a hot oven, covered loosely with foil, and roast until the thickest parts reach safe temperature. Pair your perfectly roasted chicken with cozy roast pairings to round out a comforting meal that feels both timeless and celebratory.
Frequently Asked Questions
Cooking a roast chicken well raises practical questions, especially when you’re scaling the basic 1.5kg benchmark (100 minutes unstuffed, 130 minutes stuffed) to different sizes or situations. Here are answers to the most common queries we hear from home cooks.
Does cooking time change at higher oven temperatures?
Yes, roasting above 325°F (163°C) will reduce total time, but the per-kg estimate becomes less predictable. Higher heat browns the skin faster while the interior may lag, so you’ll need to check internal temperature earlier and more often.
Can I use the same per-kg timing for bone-in pieces?
No. Bone-in chicken pieces cook faster than a whole bird because heat reaches the meat from more surfaces. Use the per-kg timing only for whole chickens and always verify doneness with a thermometer reading at least 180°F (82°C) in the thickest part.
What if my chicken is frozen?
Never roast a frozen chicken. Thaw it completely in the refrigerator (allow 24 hours per 2kg) before cooking, or the outside will overcook while the inside stays dangerously undercooked.
How does stuffing affect safety?
Stuffing adds roughly 30 minutes to a 1.5kg bird and slows heat transfer to the cavity, so you must check that the center of the stuffing also reaches 165°F (74°C) to avoid foodborne illness.
These timing principles apply whether you’re preparing a weeknight dinner or following Thanksgiving roast tips for a holiday feast. Remember, your thermometer is more reliable than any clock. If the thigh reads below the safe minimum of 180°F (82°C), simply return the bird to the oven and recheck every 10 minutes until it’s done. With these answers in hand, you can roast confidently for any occasion.
You’ve learned the per-kg timing framework, 100 minutes for a 1.5kg unstuffed bird, 130 minutes when stuffed, and that’s a solid starting point for planning your roast. But here’s what really matters: your thermometer, not the clock, tells you when dinner is ready. Check that thickest part of the thigh, confirm it’s hit at least 180°F (or 85°C if you’re in Canada), let the bird rest for a few minutes, and you’re done. Trust the process, trust your tools, and enjoy the golden, crackling reward of a perfectly roasted chicken. You’ve got this, and your kitchen smells amazing.